HÖRST
System calibration for TV speakers
September 15, 2025
15 minutes reading time
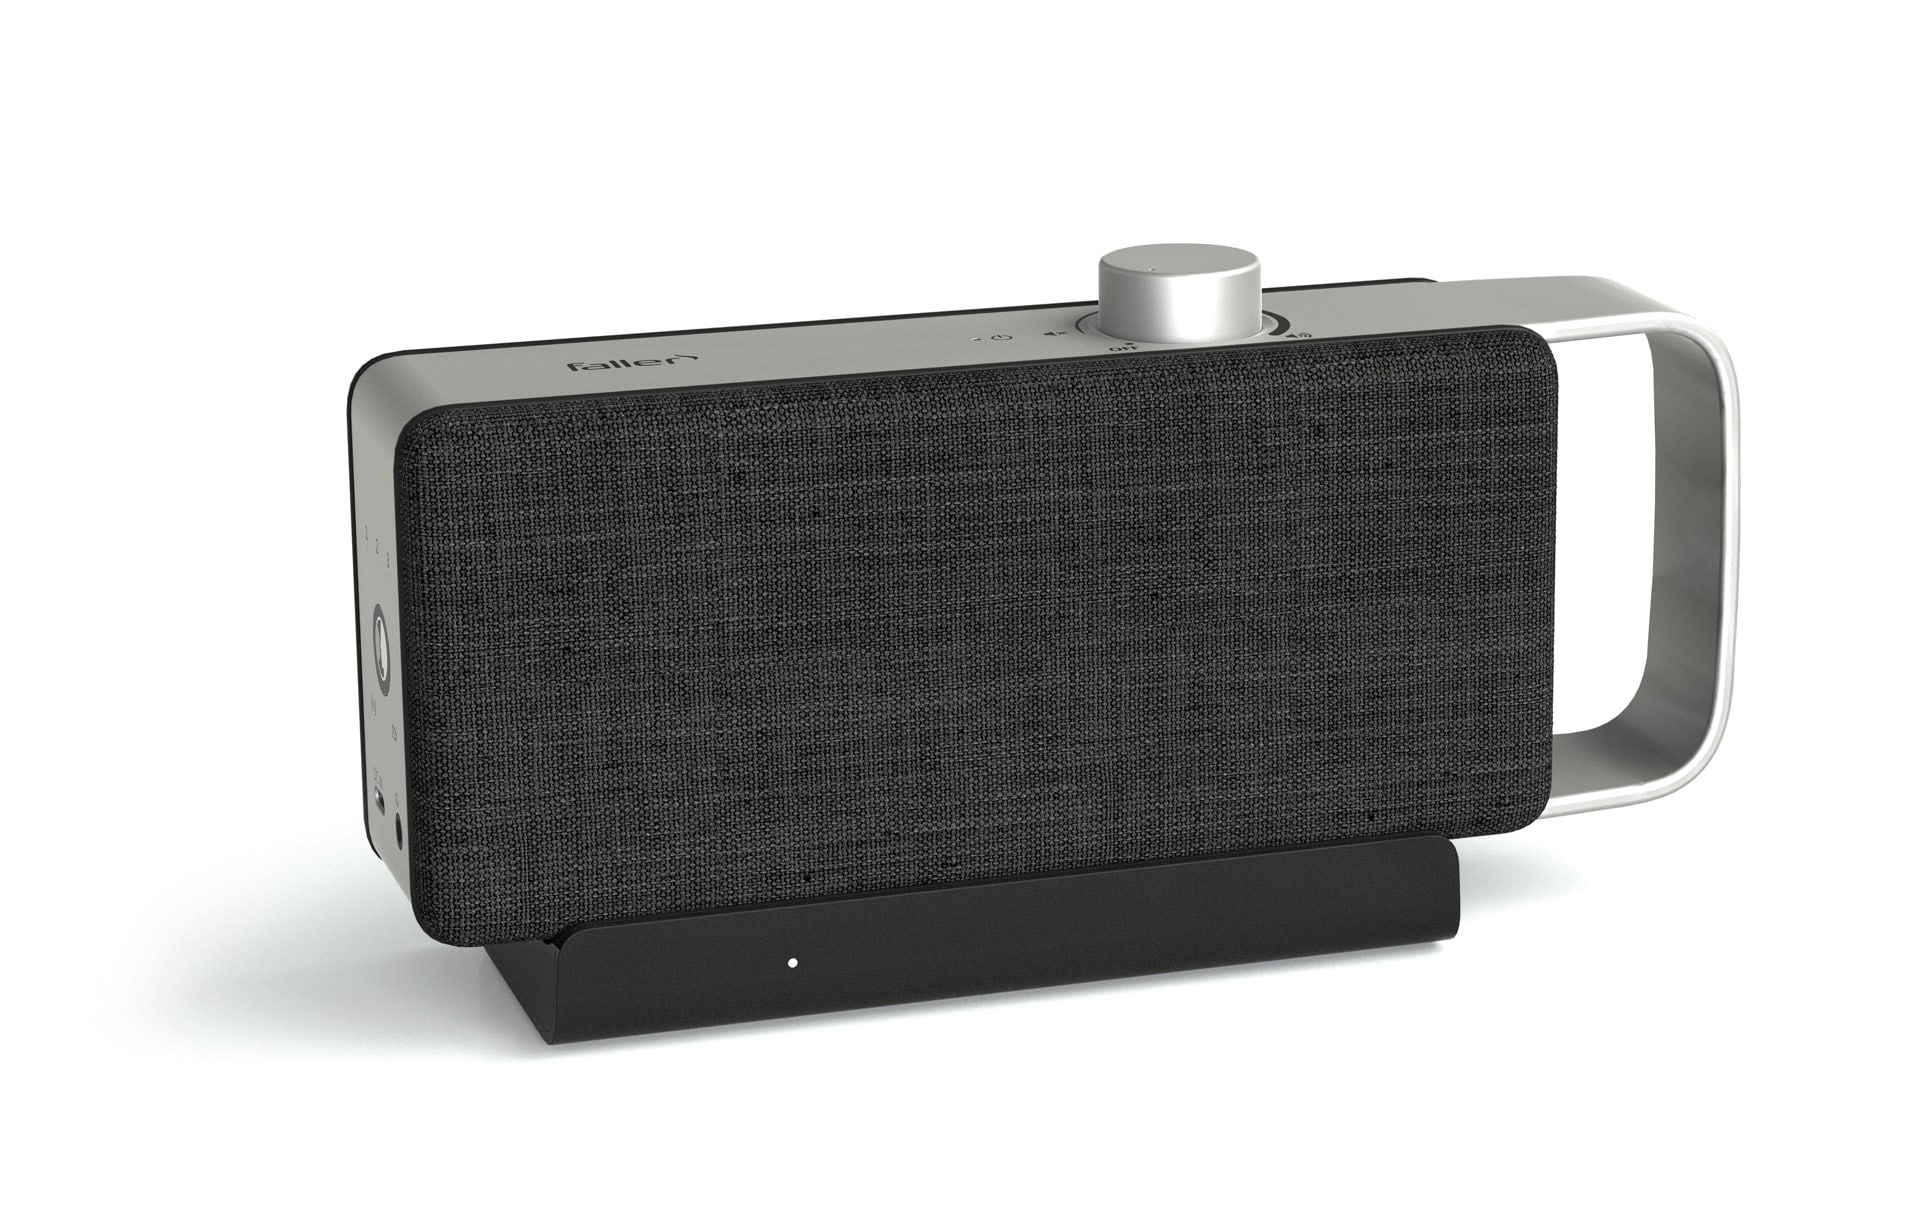
OSKAR
Portable TV voice amplifier
Advertisement
Table of contents
The sound quality of a TV speaker system depends not only on the hardware, but above all on correct setup and calibration. Precise system calibration ensures that movies, TV shows, and music sound exactly as they were intended—without annoying distortion or unbalanced frequencies. From automatic calibration to manual fine-tuning, there are many ways to optimize the sound experience. A speaker system unfolds its full potential especially when combined with good room acoustics.
The most important information in brief
- System calibration optimally adjusts audio output to room acoustics, speaker placement, and listening position—prevents unbalanced sound and boomy bass
- Preparation is crucial: quiet room without background noise, treat reflective surfaces with curtains/carpets, position speakers correctly
- Calibration microphones measure volume, delay, and frequency response from the listening position – automatic adjustment to room conditions in just a few minutes
- Automatic calibration (Audyssey, Dirac Live, YPAO) is user-friendly and fast—manual adjustment offers individual control for specific rooms.
- Room acoustics greatly influence sound quality: hard surfaces create echoes, carpets/acoustic panels improve absorption and sound distribution.
- Recalibration required when changing rooms – regular firmware updates improve performance and unlock new features such as Dolby Atmos
Basics of system calibration for TV speakers
System calibration is an essential step in getting the most out of your TV speakers. It ensures that the sound is optimized for the room and that the speakers work together efficiently. Without these adjustments, the sound experience can be compromised, even with high-quality speakers.
Definition and objective
System calibration means setting up the audio output so that the sound is optimally adapted to the room acoustics, speaker placement, and listening position. Every room has different acoustic properties that affect the sound. Calibration ensures that the sound fills the room evenly and that no frequencies are overemphasized or underrepresented. The goal is to reproduce the sound as accurately and harmoniously as possible so that all elements of the audio system, from dialogue to bass, are clearly audible.
Why calibration is important
Without proper calibration, a system's sound can seem unbalanced. In an uncalibrated setup, dialogue can be drowned out by background noise or effects, and lower frequencies such as bass can produce an unpleasant rumbling sound. This results in a less clear and precise listening experience. Good calibration not only improves sound clarity, but also ensures a better balance between the different frequencies. This makes the entire soundscape of a movie or music recording more realistic and enjoyable. It allows the speakers to perform at their best in terms of precision and detail.
Areas of application
Whether it's a simple soundbar, a 5.1 surround system, or a high-end home theater, calibration makes a difference in every setup. Even with simpler speaker systems, calibration helps to take the acoustics of the room into account and ensure that the sound is good in every corner of the room. For more complex systems with multiple speakers, precise calibration is even more crucial to ensure that the sound is perceived evenly and harmoniously from all directions. Systems with multiple speakers or Dolby Atmos-enabled devices in particular benefit from accurate calibration, which optimizes the surround sound and creates an immersive experience.
Preparations for calibration
Before the actual calibration begins, some important preparations should be made to ensure that the sound is reproduced optimally and accurately. Careful preparation is crucial for the accuracy of the calibration and the quality of the subsequent sound experience.
Prepare the room
An important first step is to prepare the room. Disturbing noises such as running air conditioners, open windows, or other background noise can distort the measurement results and negatively affect the calibration. To achieve the most accurate result possible, the room should be quiet during calibration. In addition, reflective surfaces such as glass or empty walls can negatively affect the sound, as they can reflect sound waves and cause echoes. To minimize these effects and optimize the room sound, curtains, carpets, or acoustic panels can be used. These absorption materials help to dampen the sound and ensure a more balanced sound reproduction.
Set up speakers
The position of the speakers is also a crucial factor for sound quality. The front speakers should be positioned at ear level to achieve the best sound and enable clear playback. The subwoofer should not be placed directly in a corner, as this can lead to excessive booming. Instead, it should be positioned in an area where the bass is evenly distributed throughout the room without interfering with the sound of other speakers. In a surround sound system, the rear speakers must be positioned behind the seating position to optimally support the surround sound and enhance the home theater experience. Correct speaker positioning ensures even sound distribution and a more realistic listening experience.
Check connections
Before starting calibration, check all cable connections to ensure that they are secure and that the speakers are connected correctly. For wireless systems, it is particularly important to ensure a stable Bluetooth or Wi-Fi connection. An interrupted or unstable connection can interfere with audio transmission and distort the calibration results. Once all connections are properly established and the room is prepared, calibration can be performed effectively to achieve the best possible sound quality.
Measurements and calibration microphones
Calibration microphones are at the heart of automatic TV speaker calibration, enabling precise adjustment of audio settings to the specific conditions of the room. By accurately measuring sound and acoustics, the system can determine the best possible settings for optimal sound reproduction.
How calibration microphones work
The calibration microphone is placed at the main listening position, i.e., where the person usually sits. It measures the sound emitted by each speaker and records important data such as volume, delay, and frequency response. These measurements help optimize the speaker levels so that all speakers in the system sound consistent. The microphone also captures the acoustics of the room so that the system can adjust the settings to correct any room resonances or echoes. With this collected data, the system can automatically select the best settings and adjust the sound quality to suit the conditions of the room.
Microphone placement
For precise calibration, the microphone must be positioned correctly. The optimal placement is at ear level, as this is how the sound is perceived from a normal listening position. A tripod is particularly helpful here, as it holds the microphone in the correct position and ensures that no movements during the measurement distort the result. For even more accurate results, several measuring points can be used in the room so that the sound is captured from different perspectives. This leads to a more balanced and complete sound image that takes into account the acoustics of the entire room.
Advantages of automatic measurement
Automatic calibration with calibration microphones offers many advantages. It is fast, precise, and takes all relevant factors into account, such as room size, speaker placement, and room acoustics. Instead of manually adjusting the volume, frequency, and delay settings, the system does this automatically, ensuring an optimal sound experience. This technology saves time and ensures that the audio settings always deliver the best possible sound quality without the user having to invest a lot of time in fine-tuning.
Automatic vs. Manual Calibration
The decision between automatic and manual calibration depends on various factors, including the time available, the technical equipment, and individual sound quality requirements. Both approaches have their advantages, but also limitations that need to be taken into account.
Automatic calibration
Automatic calibration is the preferred choice for many users because it is convenient and technically mature. Modern systems such as Audyssey, Dirac Live, or YPAO (Yamaha Parametric Room Acoustic Optimizer) use calibration microphones to analyze the acoustic properties of the room and the speakers.
- benefits:
- Time savings: Setup takes just a few minutes. Once you've connected the microphone and launched the software, the system does the rest automatically.
- Ease of use: Even without a deep understanding of speaker technology or room acoustics, impressive results can be achieved.
- Precise corrections: Automatic systems detect problems such as phase shifts, delays between speakers, or frequency gaps and correct them independently.
- Adaptation to the room: The algorithms take into account sound reflections, room echoes, and absorption values to optimize sound quality.
- disadvantages:
- Incomplete results: The algorithms make decisions based on average values that do not always correspond to personal listening preferences. Dialogue may be too quiet or bass may be too dominant.
- Dependence on software: Not all automatic systems are equally good. While high-end systems such as Dirac Live allow for detailed adjustments, some cheaper versions only offer basic corrections.
- Additional adjustments required: Despite automatic calibration, manual fine-tuning is often necessary to further personalize the result.
Manual calibration
Manual calibration is a method for users who want maximum control over their speaker configuration. It requires more time and expertise, but when done correctly, it delivers a personalized sound experience.
- benefits:
- Customization: Each setting can be optimized according to personal preferences without algorithms imposing restrictions.
- Precision in special rooms: Rooms with unusual acoustics—e.g., lots of windows, high ceilings, or asymmetrical walls—benefit from targeted manual adjustment.
- Control sound characteristics: From the balance between speakers to fine-tuning frequencies, every aspect of the sound can be customized.
- disadvantages:
- Time-consuming: Manual calibration requires patience and repeated testing to achieve the desired results.
- Technical knowledge required: Those with no experience in audio settings may find it difficult to understand and apply terms such as delay, level balancing, or crossovers.
- Prone to errors: Without precise measuring tools such as SPL meters or frequency analysis software, there is a risk of achieving suboptimal results.
When manual settings really make sense
There are scenarios in which manual calibration is superior to the automatic method:
- Rooms with complex acoustics: Rooms with asymmetrical structures, many reflective surfaces, or unusual furniture arrangements can overwhelm the algorithms of automatic systems.
- Specific sound preferences: Users who want precise control over bass, treble, or the volume balance between speakers will achieve better results with manual settings.
- Supplement to automatic calibration: Automatic calibration often provides a good basis that can then be further refined manually, e.g., by adjusting the dialogue gain or bass management.
Room acoustics and their influence on sound quality
Room acoustics play a crucial role in the sound reproduction of a speaker system. Even the best TV speakers can disappoint in a room whose acoustics are not optimized. The way sound is reflected or absorbed in a room has a significant influence on how the sound is perceived.
How space affects sound
Sound is reflected by walls, ceilings, and floors, which can alter the perception of sound. If too much sound is reflected, echoes are created and the sound can become muddy. This often happens in rooms with hard surfaces such as glass or concrete, which reflect sound and make it unclear. On the other hand, too much sound absorption in rooms with lots of soft materials can make the sound dull and lifeless, as important frequencies are lost. The challenge is to find a balance between too much and too little reflection to ensure clear, natural sound.
Tips for optimizing acoustics
There are several ways to optimize room acoustics to improve the sound experience. A simple but effective measure is to use carpets, curtains, and furniture, which help to dampen sound and minimize reflections. Carpets are particularly effective at absorbing sound from hard floors, while curtains on windows also dampen sound and reduce unpleasant reflections.
Acoustic panels can be installed to specifically improve acoustics, reducing disruptive frequencies such as mid and high tones and ensuring greater clarity. These panels are particularly useful in rooms with strong echoes or in larger rooms where sound is not effectively absorbed.
In addition, it can be beneficial if the room is neither empty nor overloaded. A uniformly filled room ensures better sound distribution and helps the sound to appear more natural. Too few pieces of furniture can distribute the sound unevenly, while too many pieces of furniture can overload the room acoustically and impair the sound quality. A balanced room design ensures that the sound is not absorbed too much or reflected excessively, resulting in natural and clear sound reproduction.
Troubleshooting & readjustment
After calibrating the speaker system, minor adjustments may be necessary to achieve the best possible sound experience. These fine adjustments help to further optimize the sound and ensure that all audio elements harmonize perfectly with each other.
Correcting incorrect measurement results
If the sound does not meet expectations, this could indicate incorrect measurement results during calibration. This often happens if the calibration microphone was not positioned correctly or if noise in the room distorted the measurements. In such cases, the calibration should be repeated to ensure that the speakers are optimally tuned to the room acoustics. It is important to keep the room as quiet as possible during calibration and to place the microphone in the correct position in order to obtain accurate results.
Subwoofer fine tuning
The subwoofer can sometimes sound too dominant, especially if the volume or crossover frequency is not set optimally. A subwoofer that is too powerful can drown out the sound of the other speakers, especially during dialogue and mid-range frequencies. To create a harmonious sound, it can help to reduce the volume of the subwoofer or adjust the crossover. This will better integrate the subwoofer into the overall system without compromising the clarity of voices or the richness of detail in the higher frequencies. Careful fine-tuning ensures that the subwoofer supports the low frequencies rather than overpowering them.
dialogue enhancement
Another important aspect of fine-tuning is dialogue enhancement. The center speaker, which is responsible for reproducing voices, can be manually adjusted to increase the clarity of dialogue. In some cases, especially in movies or series with a lot of background noise, the center speaker may be too quiet, making dialogue difficult to understand. By increasing the volume of the center speaker or fine-tuning the frequencies, speech intelligibility can be improved. This adjustment ensures that voices stand out clearly and distinctly, even when accompanied by music or sound effects.
With these small but effective adjustments, the speaker system can be further optimized to deliver an even more precise and balanced sound experience.
Long-term maintenance and regular updates
Once the speaker system has been set up, the work is not quite finished. Regular maintenance and updates are necessary to keep the sound quality at the highest level. These ensure that the system always functions optimally and that no changes in room acoustics or technology go unnoticed.
Recalibration in case of changes
Any change in the room, whether it be new furniture, speaker rearrangements, or other room changes, can affect the sound. Adding or removing furniture can also change the acoustics of the room and lead to sound distortion. In such cases, the system needs to be recalibrated to ensure that the speakers are still optimally tuned to the room and the new conditions. It is recommended that you check the setup at least once a year to ensure that the sound remains at its best and that no unwanted changes have occurred.
firmware updates
Many manufacturers offer software updates that not only improve system performance but also unlock new features. Updates may include support for Dolby Atmos or expanded equalizer settings to further optimize sound. These updates help keep the system up to date with the latest technological developments and continuously improve performance. It is advisable to check for firmware updates regularly and install them, as they often also provide bug fixes and stability improvements. A well-maintained speaker system not only stays up to date, but also delivers an optimal sound experience over the long term.
Further articles

Healthy candy alternatives for seniors
For many people, craving sweets is part of everyday life. However, traditional sweets often contain large amounts of sugar and provide

Cooking together in old age
As we get older, our everyday lives change in many ways. The children have left home, our partner may be

Protein-rich nutrition in old age
As we age, our bodies change in many ways, and nutrition plays a crucial role in our health.